10 Rainbow Painted Mason Jars for Kids Rooms
When it comes to decorating a child’s room, creativity knows no bounds. Children thrive in vibrant environments filled with color, imagination, and fun. One of the easiest ways to add a splash of color and a personal touch to a child’s room is through DIY decor. Enter rainbow painted mason jars. These charming and versatile crafts can be used for storage, decoration, or even as fun night lights. In this article, we will explore ten inspiring ideas for rainbow-painted mason jars that can brighten up any kids’ room.
What You Will Need
Before we dive into the projects, let’s discuss all the materials you will need to create your rainbow mason jars:
- Mason jars (various sizes)
- Acrylic paint (in various rainbow colors)
- Paintbrushes (various sizes)
- Painter’s tape (optional, for clean lines)
- Sealer (optional for durability)
- LED lights (if you want to create night lights)
- Glitter (optional for extra sparkle)
- Water (to rinse brushes)
- Old newspaper or tablecloth (to protect your workspace)
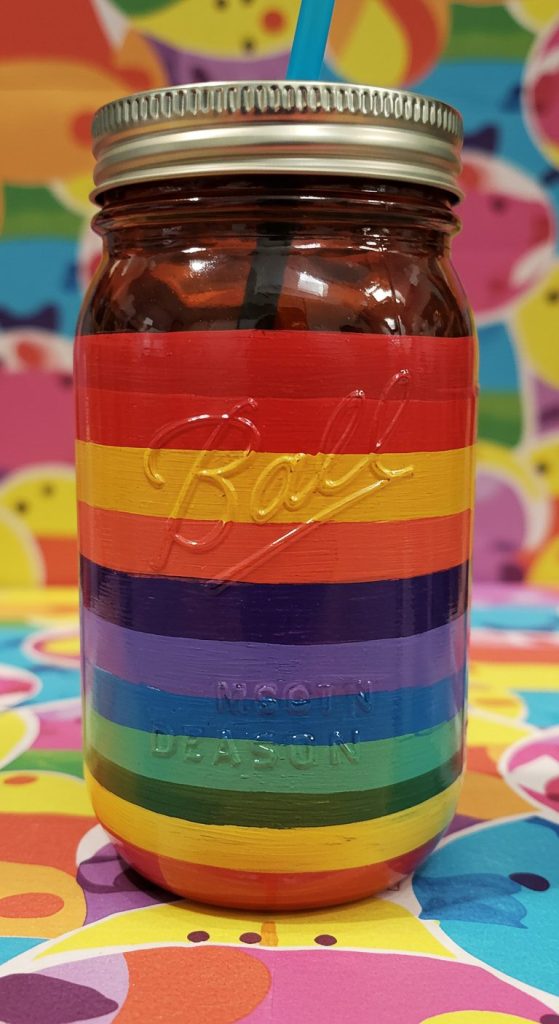
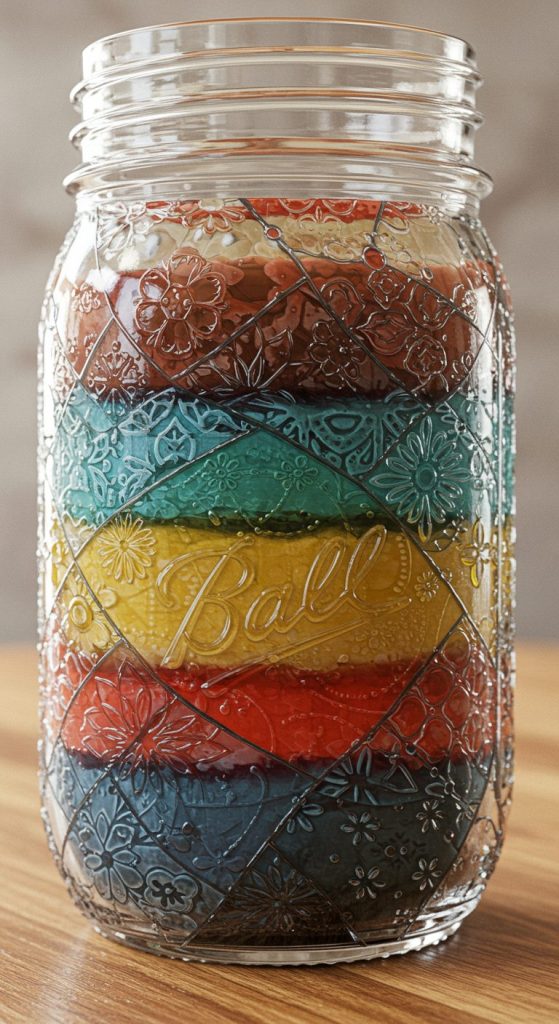
1. Classic Rainbow Stripes
Description
The classic rainbow stripes design is perfect for young children who love bright colors. Each jar can showcase the colors of the rainbow in horizontal or vertical stripes.
Instructions
- Clean your mason jars and remove any labels.
- Use painter’s tape to create straight lines around the jars—or, if you’re feeling adventurous, go freehand!
- Paint one color at a time, allowing each color to dry before applying the next stripes.
- Once finished, seal the jars with a clear sealer to protect the paint.
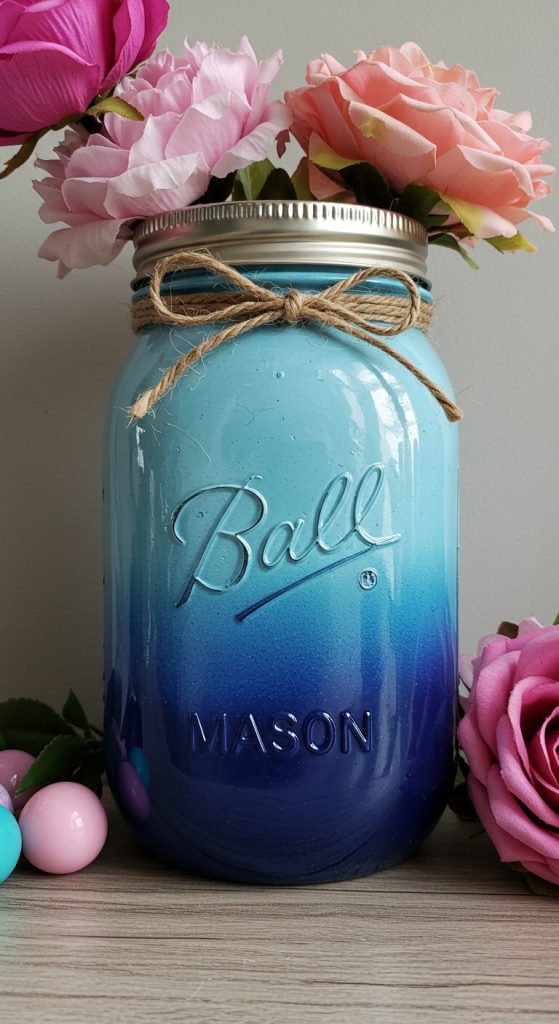
2. Rainbow Ombré Jars
Description
Ombré designs have gained popularity in home decor and are a great way to showcase your painting skills. These jars transition from one color to another, creating a beautiful gradient effect.
Instructions
- Begin with the darkest shade of your chosen color and paint the bottom half of the jar.
- Gradually add white to your paint as you move up the jar, creating lighter shades.
- Blend the colors while still wet for a seamless look.
- Allow to dry and finish with a sealer.
3. Rainbow Dots and Dashes
Description
If your child enjoys playful patterns, dotted designs are an excellent choice. They’ll create a cheery ambiance in the room.
Instructions
- Use a small round sponge or the end of a paintbrush to dab on colorful dots randomly over the entire surface.
- Alternate the colors to create a fun pattern.
- For added flair, you can also add dashes between the dots.
- Seal the jars after the paint has dried.
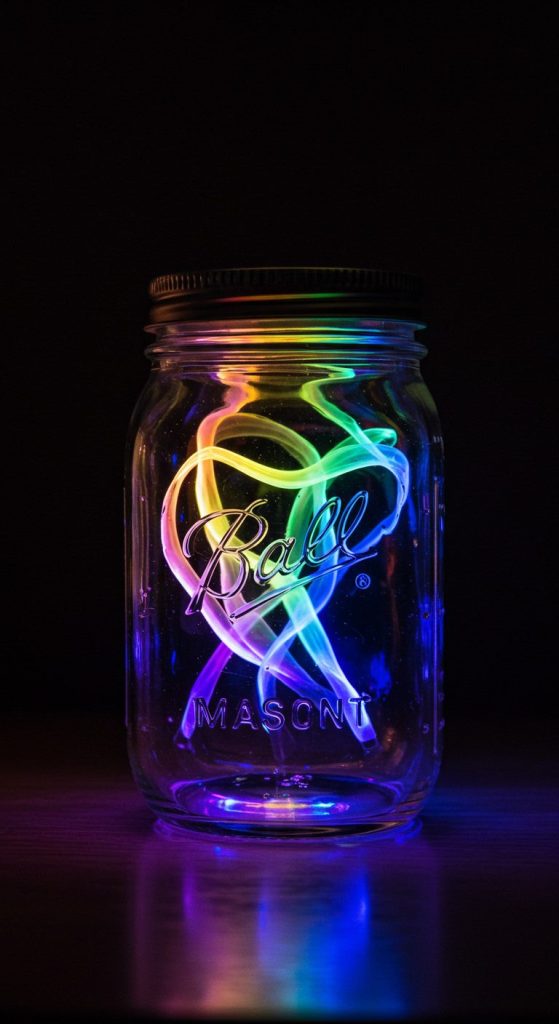
4. Rainbow Glow Jars
Description
Why not add a magical touch to your child’s room with glow-in-the-dark paint? These jars will serve as whimsical light sources.
Instructions
- Paint the inside of your mason jar with glow-in-the-dark paint in a rainbow pattern.
- Allow the paint to dry.
- Place LED fairy lights inside the jar to enhance the glow effect at night.
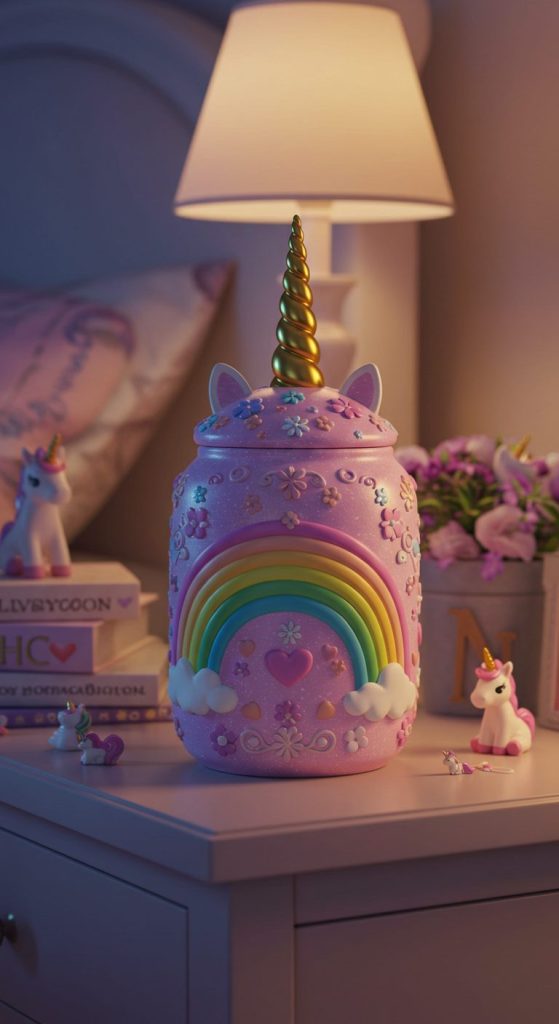
5. Rainbow Unicorn Jars
Description
Combine the classic rainbow painted jars with a whimsical unicorn theme that will spark your child’s imagination.
Instructions
- Paint the jar in a rainbow pattern.
- Use white paint to create a unicorn’s face with eyes and a smile.
- Add a horn at the top with golden or metallic paint.
- Add flower accents around the neck of the jar for extra decoration.
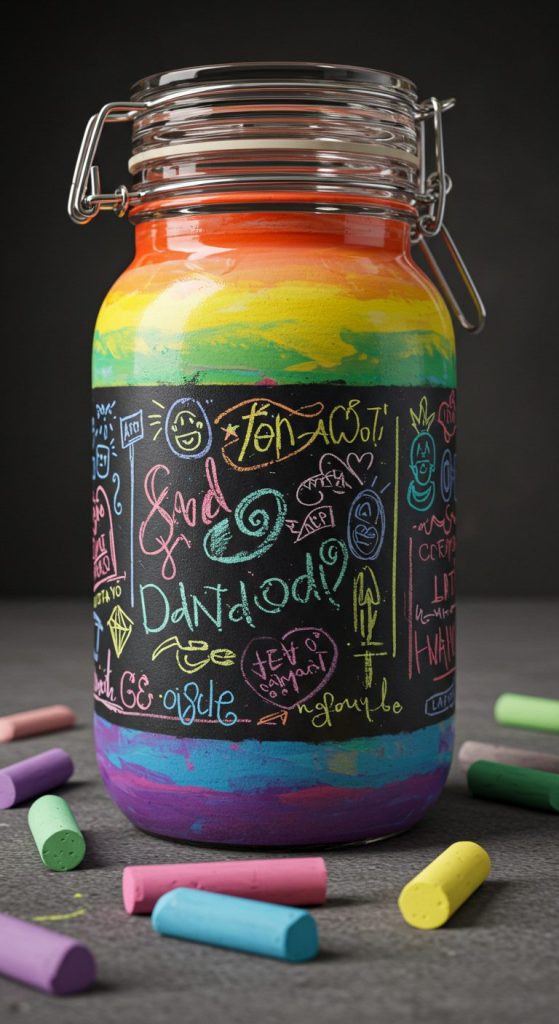
6. Rainbow Chalkboard Jars
Description
These jars can serve dual purposes: as decorative pieces and as creative outlets for your child. Using chalkboard paint over a rainbow base allows your child to redefine the jar’s look regularly.
Instructions
- Paint the jar in a rainbow gradient.
- After drying, add a coat of chalkboard paint to a portion of the jar.
- Let your child doodle or write messages using chalk.
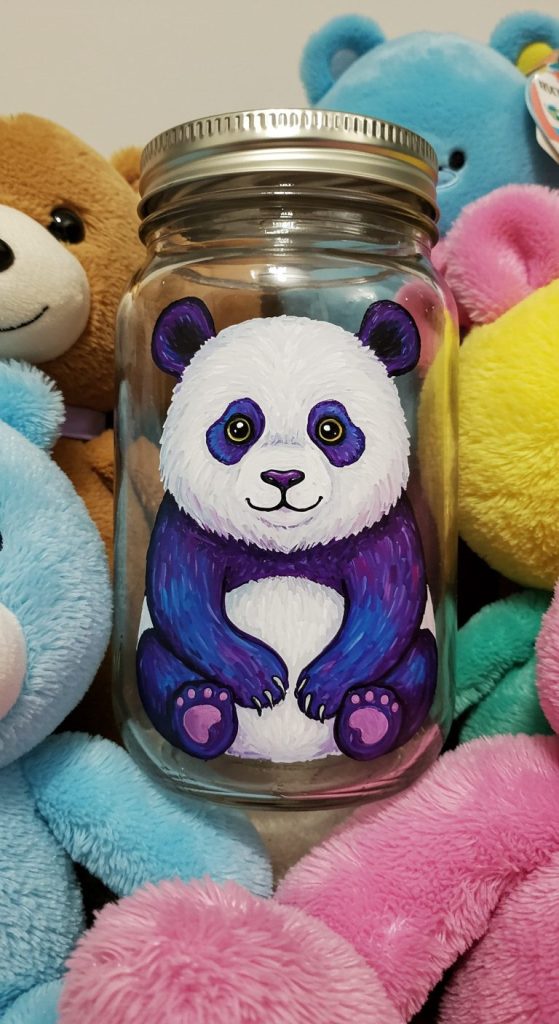
7. Rainbow Animal Jars
Description
Add an element of fun with animal faces and rainbow colors. This will make the jars interactive and appealing to younger children.
Instructions
- Paint your jar using rainbow colors.
- Choose an animal theme (like a colorful panda or a lion) and paint the corresponding features such as ears, eyes, and noses.
- For extra detail, use googly eyes and other embellishments.
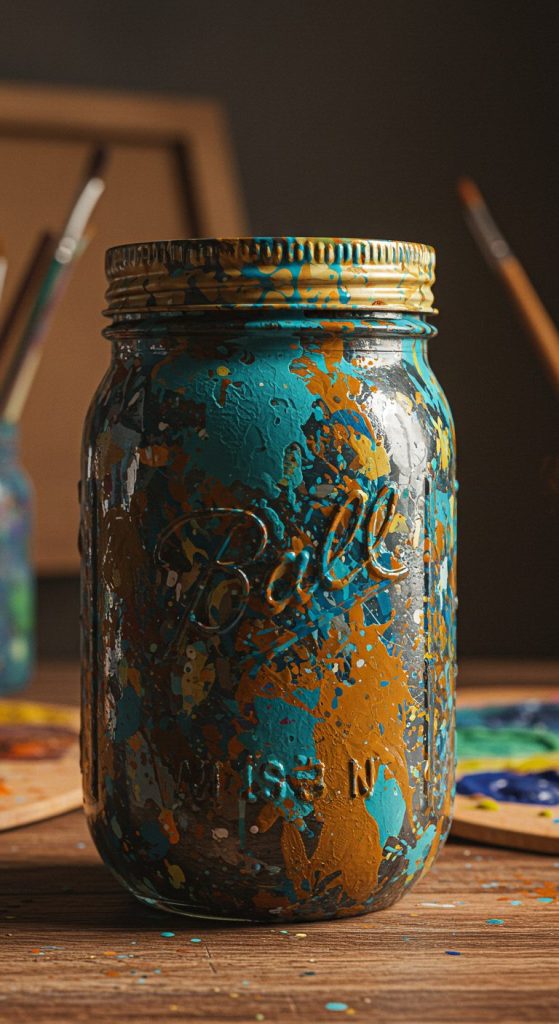
8. Splatter Paint Rainbow Jars
Description
Splatter painting is a great way to unleash creativity without worrying about staying inside the lines.
Instructions
- Cover the workspace with newspaper.
- Dip your paintbrush in multiple colors and splatter it across the jar.
- Allow it to dry, then finish with a sealer.
9. Rainbow Patchwork Jars
Description
Inspired by patchwork quilts, this look involves using square shapes to create a tapestry of colors.
Instructions
- Paint sections of the jar with different rainbow colors, masking off the adjacent sections.
- Once dry, use a fine brush to add cute patterns or motifs like stars or hearts in the same section.
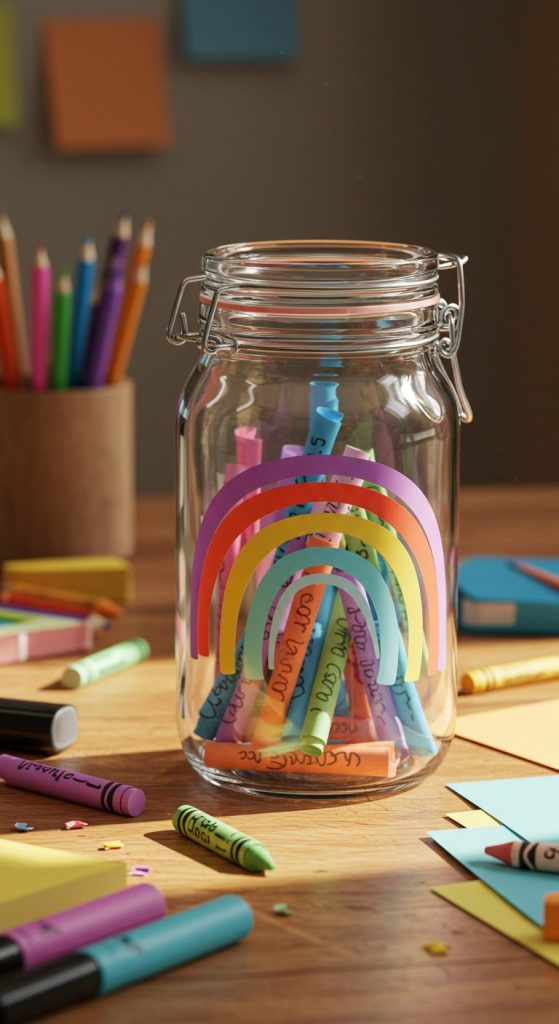
10. Rainbow Message Jars
Description
These jars are not just pretty, they can also carry positive messages, making them perfect for encouraging kids.
Instructions
- Paint the inside of the jar in a rainbow gradient.
- Write encouraging messages or affirmations on colorful paper strips.
- Place the strips inside the jar, and let your child pull one out whenever they need a boost.
Conclusion
Creating rainbow-painted mason jars is an enjoyable craft that can transform any child’s room into a vibrant sanctuary. These jars not only provide functionality but also serve as decorative pieces that can inspire creativity and positivity in your child’s space. With so many styles to choose from, there’s no limit to how your mason jars can shine!
Final Thoughts
Encouraging creativity through DIY projects fosters a sense of ownership in a child’s space. By incorporating rainbow-painted mason jars into room decor, you allow your child to have a hand in their environment while creating lasting memories.
Now that you have your list of 10 exciting ideas, gather your supplies and let the color explosion begin! Happy crafting!
Feel free to modify or expand upon any sections to fit your needs or appeal to your target audience. Remember that the beauty of creativity is that there are no wrong turns!