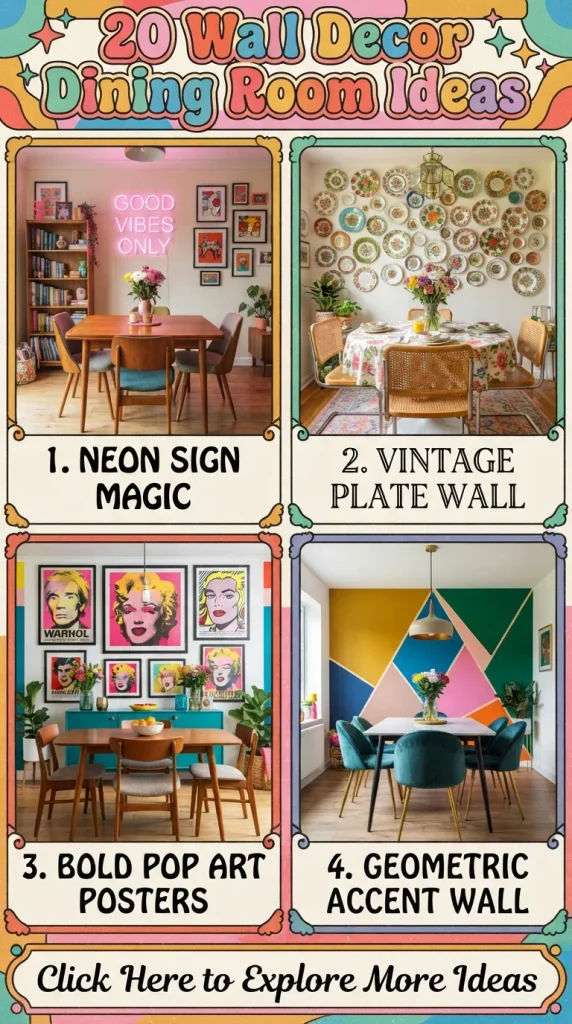
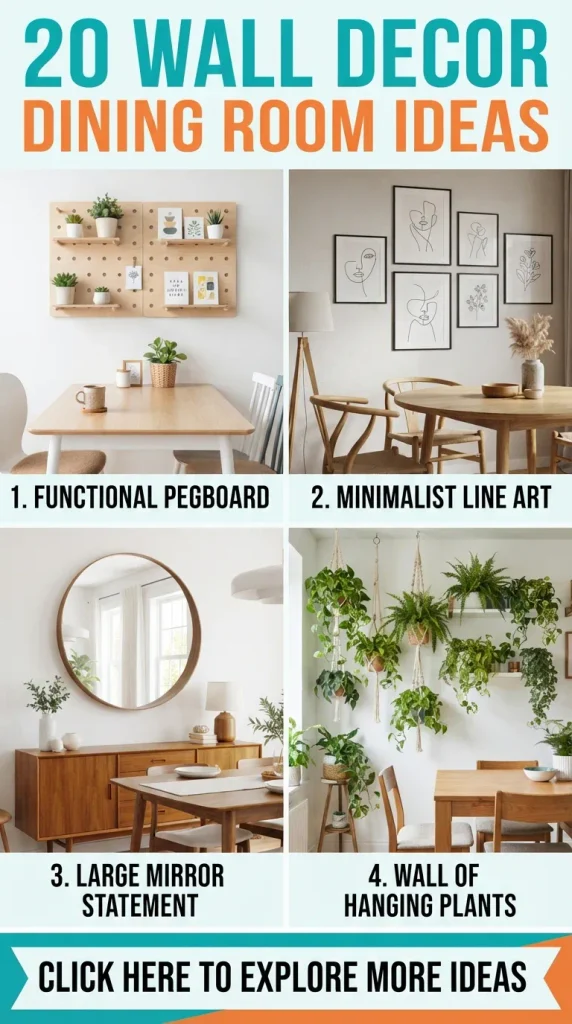
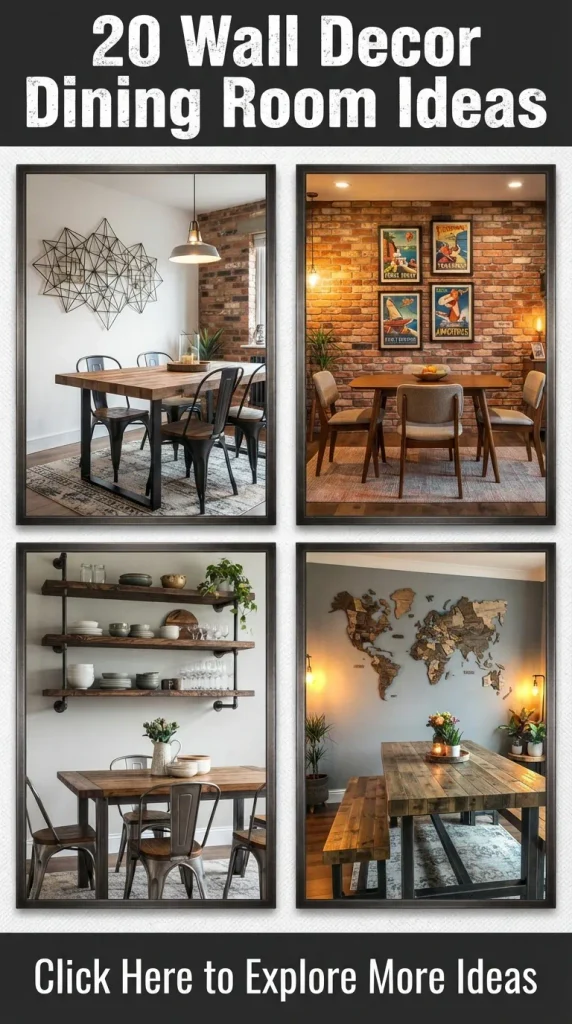
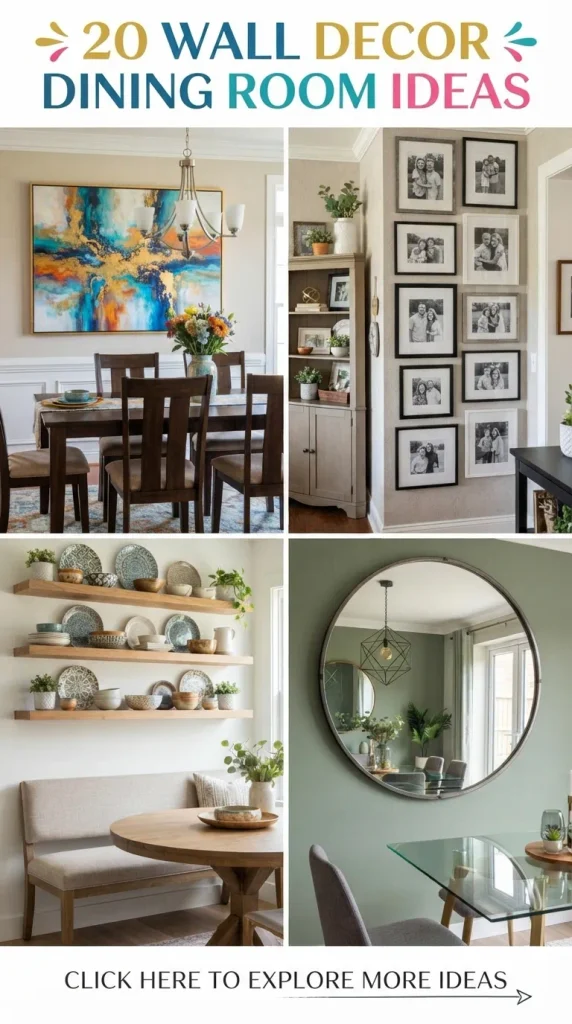
The dining room is more than just a place to enjoy meals; it is a gathering space for celebrations, quiet family dinners, and heartfelt conversations. Yet, many homes feature dining rooms with bare, uninspired walls that fail to reflect the warmth and character of the home. Transforming your dining room walls can completely alter the atmosphere, turning a simple eating area into an inviting, stylish sanctuary.
Whether your design aesthetic leans toward modern minimalism, cozy rustic charm, or dramatic maximalism, thoughtful wall decor anchors the room and sets the mood. This comprehensive guide explores 20 stunning dining room wall decor ideas. Each concept includes a detailed introduction, a breakdown of what the idea means, a step-by-step DIY guide on how to create it, practical tips, and necessary variations to help you tailor the look to your personal style.
1. Oversized Abstract Canvas Art
Introduction
Large-scale art is a timeless design choice that commands attention and instantly elevates a room’s sophistication. An oversized abstract canvas creates a powerful focal point, drawing the eye and establishing a curated, gallery-like ambiance without cluttering the dining space.
What This Idea Means
This concept revolves around utilizing a single, massive piece of abstract artwork—or a dramatic diptych—centered on the primary wall of the dining room. Rather than a busy gallery wall, the emphasis is placed on scale, texture, and emotional resonance through color and brushstrokes.
How to Make It
- Materials Needed: A large blank canvas (at least 36×48 inches), heavy-body acrylic paints, gesso, mixing palette, large painting knives, foam rollers, and a drop cloth.
- Step-by-Step Instructions:
- Prime your blank canvas with a layer of white gesso to ensure a smooth, durable painting surface.
- Choose a cohesive color palette of three to four colors that complement your dining room furniture and textiles.
- Apply a base coat using a large roller to establish the background tone, allowing it to dry completely.
- Use painting knives and heavy-body acrylics to layer texture onto the canvas, focusing on sweeping strokes, organic shapes, or geometric intersections.
- Allow the piece to cure fully before sealing it with a protective matte varnish.
- Hang the canvas securely using heavy-duty wall anchors at eye level, centered above your sideboard or dining table.
Tips and Variations
- Monochromatic Texture: If bright colors overwhelm your space, use a neutral palette (whites, beiges, and charcoals) and focus heavily on textured paste or modeling clay applied beneath the paint.
- Floating Frame: Elevate the canvas by inserting it into a slim wooden floating frame to give it a polished, professional finish.
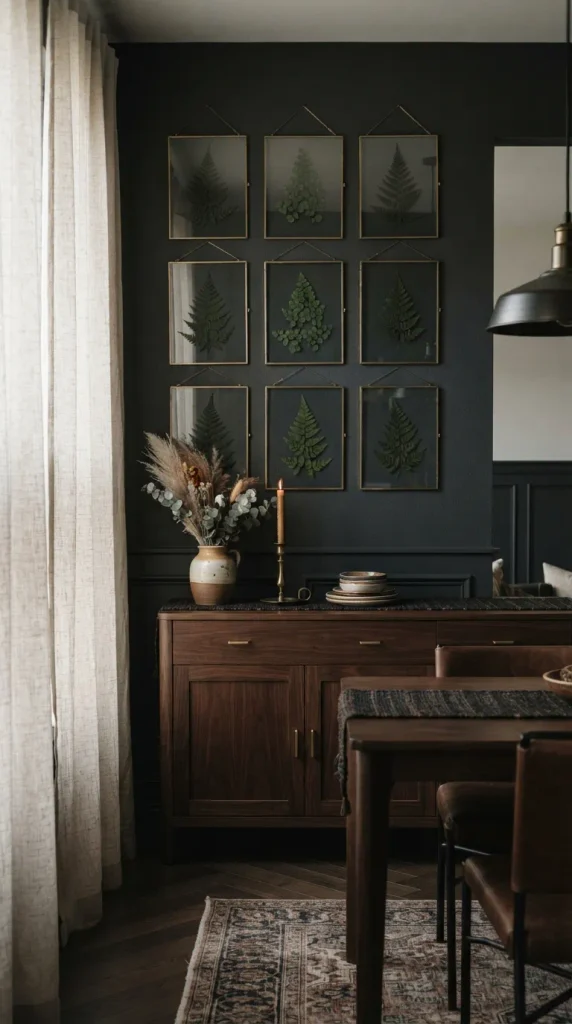
2. Botanical Pressed Glass Herbarium Wall
Introduction
Bringing the outdoors inside creates an immediate sense of calm and organic beauty. A botanical pressed glass herbarium wall introduces natural textures and delicate green hues, making it an exceptionally fresh and inviting choice for a dining room.
What This Idea Means
This decor style features real leaves, ferns, and wildflowers pressed flat and framed between two panes of clear glass. It celebrates nature’s intricate geometry and lends an airy, vintage apothecary aesthetic to your dining space.
How to Make It
- Materials Needed: Assorted freshly gathered leaves, ferns, and flat flowers; heavy books and parchment paper for pressing; double-glass floating frames with metal or wooden borders; tweezers; and micro-fiber cleaning cloth.
- Step-by-Step Instructions:
- Collect fresh botanical specimens and place them flat between sheets of parchment paper inside a heavy stack of books for two to three weeks until completely dry.
- Clean the interior glass panes of your floating frames thoroughly to remove dust and fingerprints.
- Carefully arrange the pressed botanicals onto the bottom glass pane using tweezers to avoid damaging the fragile leaves.
- Place the top glass pane gently over the specimens and secure the frame enclosure.
- Hang a collection of three to five frames in a symmetrical grid or an organic, asymmetrical cluster on your dining wall.
Tips and Variations
- Autumnal Tones: Swap green foliage for dried autumn leaves in rich burgundies, burnt oranges, and golden yellows when transitioning your decor for the fall season.
- Labeling: Add a handwritten botanical name in calligraphy at the bottom corner of each glass pane for an authentic scientific illustration look.

3. Modern Woven Rattan Wall Baskets
Introduction
Texture is the secret ingredient to making a dining room feel warm and layered. Incorporating woven natural fibers adds earthy warmth, tactile depth, and a touch of bohemian elegance to flat wall surfaces.
WhatThis Idea Means
Instead of traditional framed prints, this approach utilizes a curated collection of handmade rattan, seagrass, and bamboo baskets arranged artistically on the wall to create a dynamic, sculptural tapestry of natural materials.
How to Make It
- Materials Needed: A variety of flat and deep-set woven baskets in different sizes and patterns, sturdy wire or hanging loops, painter’s tape, a hammer, and small nails.
- Step-by-Step Instructions:
- Lay your collection of baskets out on the floor and experiment with different cluster arrangements until you find a balanced composition.
- Cut pieces of paper to match the exact outline of each basket, label them, and tape the paper templates to the wall using painter’s tape to preview the placement.
- Hammer small picture nails directly through the paper templates or mark the spots and remove the paper.
- Attach sturdy hanging loops to the back of each basket if they do not already have them.
- Hang the baskets securely, starting with the largest statement piece in the center and working outward with smaller pieces.
Tips and Variations
- Painted Accents: Spray-paint a few of the baskets in matte black or sage green to give a traditional craft a modern, contemporary edge.
- Monochrome Weaves: Stick strictly to natural blonde rattan for a serene, Scandinavian-inspired minimalist aesthetic.
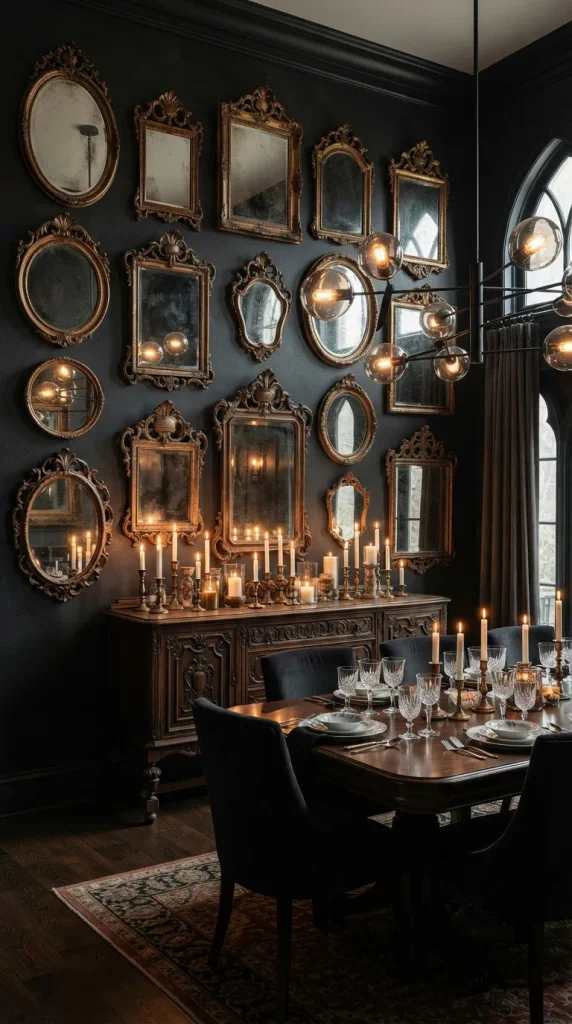
4. Vintage Gold Antique Mirror Collage
Introduction
Mirrors are a designer’s best friend in a dining room. They bounce ambient light around the space, make intimate rooms feel expansive, and add an instant touch of timeless glamour and romance.
What This Idea Means
Rather than relying on one large, modern mirror, this design features an eclectic gallery arrangement of smaller, vintage mirrors with ornate, distressed gold, bronze, or brass frames.
How to Make It
- Materials Needed: 5 to 8 vintage or antique-style mirrors of varying shapes (ovals, sunbursts, rectangles, and arches), glass cleaner, heavy-duty picture hooks, and a level.
- Step-by-Step Instructions:
- Source unique mirrors from antique shops, thrift stores, or specialty decor boutiques, ensuring a mix of frame styles and sizes.
- Clean the glass surfaces and polish the metallic frames.
- Arrange the mirrors on a large table to determine the most harmonious layout, ensuring a balance of shapes and visual weight.
- Measure and mark your hanging points on the dining room wall, incorporating a central anchor mirror.
- Hang each mirror securely, checking frequently with a level to maintain alignment.
Tips and Variations
- Aged Patina: Choose mirrors with naturally foxed, speckled glass to enhance the authentic antique charm.
- Single Statement Arch: If a collage feels too busy, opt for one grand, oversized arched floor mirror propped against the dining wall for dramatic effect.
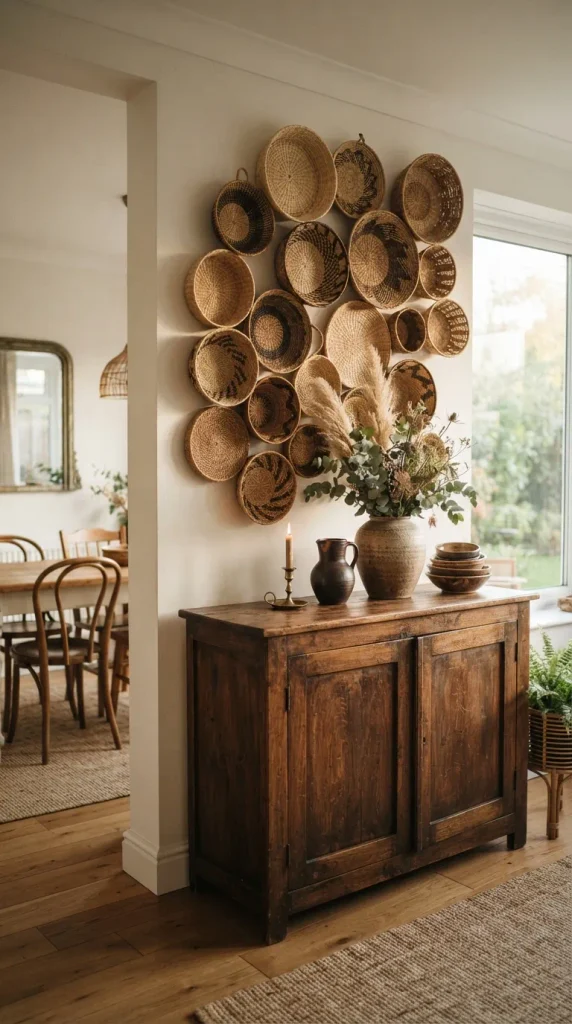
5. Architectural Board and Batten Panelling
Introduction
Walls do not need to be covered in art to be striking. Structural wall treatments add permanent architectural interest, transforming plain drywall into a high-end, custom-designed feature wall.
What This Idea Means
Board and batten is a classic wall treatment consisting of flat wooden baseboards, vertical wooden strips (battens) spaced evenly apart, and a top ledge or rail, painted entirely in a single rich, enveloping hue.
How to Make It
- Materials Needed: MDF boards or pre-primed wood strips, construction adhesive, a finish nail gun, a miter saw, wood filler, fine-grit sandpaper, primer, and satin interior paint.
- Step-by-Step Instructions:
- Measure your dining room wall and map out the spacing for your vertical battens, typically placing them 12 to 16 inches apart.
- Apply construction adhesive to the back of each wooden board and press it firmly against the wall.
- Secure the boards permanently into the wall studs using a finish nail gun.
- Install a horizontal cap rail across the top of the battens for a clean, finished ledge.
- Fill all nail holes and seams with wood filler, let dry, and sand smooth.
- Prime the entire wall installation and apply two coats of your chosen satin finish wall paint.
Tips and Variations
- Two-Tone Drama: Paint the lower board and batten panel in a deep moody color like forest green or navy, leaving the upper wall a crisp, clean white.
- Plate Rail Integration: Incorporate a small groove or lip into the top rail so you can lean decorative plates and serving trays directly against the wall.

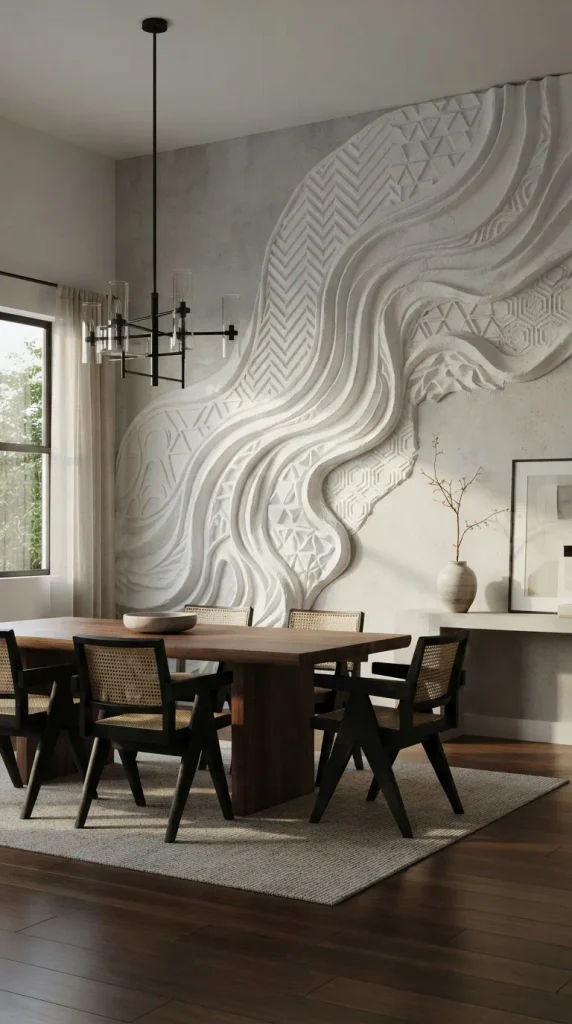
6. Elegant Plaster Relief Wall Sculpture
Introduction
Subtle, tactile, and deeply sophisticated, textured plaster wall art introduces architectural sculpture into the dining room. It catches light and shadow dynamically throughout the day, creating a serene and luxurious atmosphere.
What This Idea Means
This style uses joint compound, plaster, or modeling paste applied thickly onto canvas or directly onto the wall to create raised, organic, monochromatic patterns reminiscent of ancient ruins or high-end modern galleries.
How to Make It
- Materials Needed: Heavy-duty primed canvas, lightweight joint compound, putty knives, notched trowels, a clean sponge, and white matte wall paint.
- Step-by-Step Instructions:
- Lay your canvas flat on a sturdy workbench or table.
- Scoop joint compound onto the canvas and use a putty knife or trowel to spread it evenly or create thick, sculptural waves and ridges.
- Use the teeth of a notched trowel to drag through the wet compound, creating structured geometric lines or organic fan motifs.
- Allow the plaster to dry completely for 48 hours until it hardens and turns a bright matte white.
- Touch up any sharp edges with fine-grit sandpaper if necessary.
- Mount the textural masterpiece securely on your dining room wall.
Tips and Variations
- Monochrome Tint: Mix a tiny drop of raw umber or beige acrylic paint into the plaster before application for a warm, organic limestone hue.
- Direct Wall Relief: Apply the plaster directly onto a designated section of the dining room wall framed by subtle molding strips.
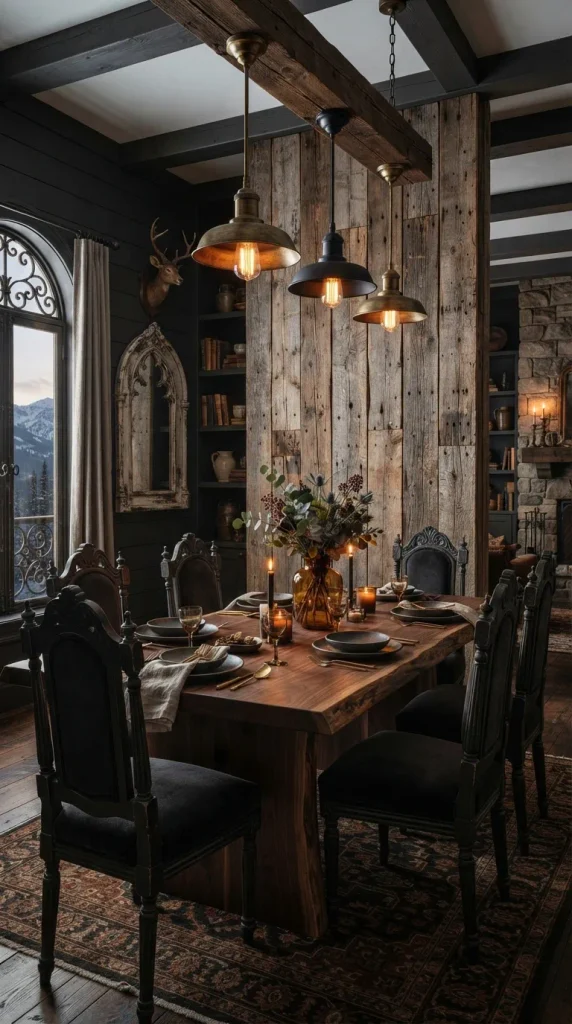


7. Floating Walnut Wooden Display Shelves
Introduction
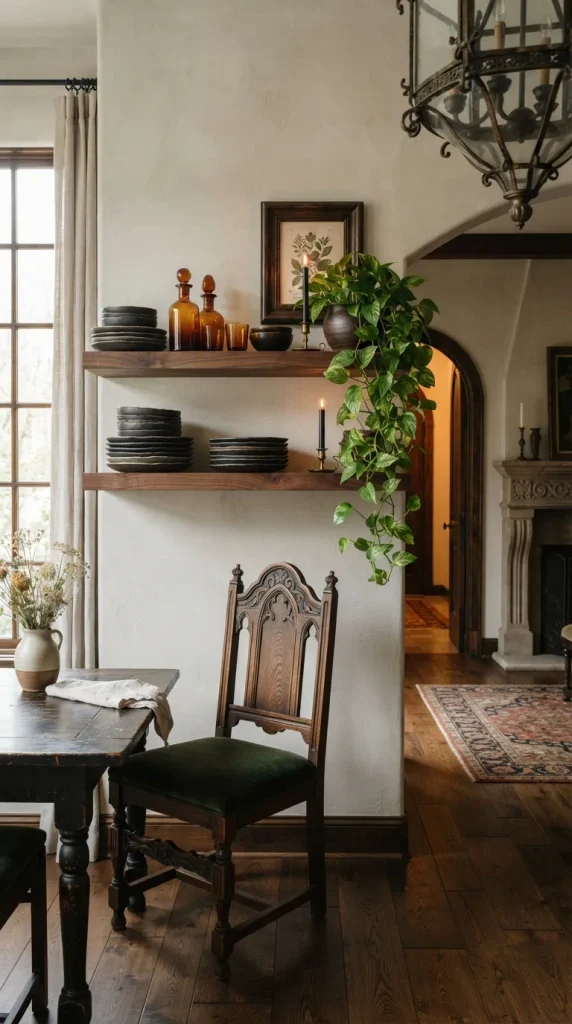
Functional decor brings practicality together with aesthetic appeal. Floating wooden shelves offer a streamlined way to display treasured dinnerware, glassware, and decorative objects without overwhelming the room.
What This Idea Means
Thick, rich-toned solid walnut shelves mounted seamlessly to the wall provide a warm horizontal contrast to vertical walls while acting as an ever-changing showcase for your favorite dining accessories.
How to Make It
- Materials Needed: Two or three solid walnut boards cut to size, heavy-duty concealed floating shelf brackets, a stud finder, a drill, wood screws, and wood conditioner.
- Step-by-Step Instructions:
- Locate the wall studs in your dining room using an electronic stud finder and mark the bracket positions.
- Pre-drill holes and mount the heavy-duty metal bracket rods securely into the wall studs, checking with a level.
- Drill corresponding holes into the back edge of your walnut boards to match the bracket spacing.
- Slide the wooden shelves smoothly over the metal support rods until they sit flush against the drywall.
- Style the shelves with a balanced mix of ceramic pitchers, stacked neutral plates, small potted plants, and brass candlesticks.
Tips and Variations
- Integrated Picture Ledge: Use shelves that feature a shallow carved front groove designed specifically to hold framed art prints securely at an angle.
- Under-Shelf Lighting: Install discreet LED strip lighting beneath the lowest shelf to cast a warm, ambient glow across your dining table.
8. Moody Dark Floral Mural Wallpaper
Introduction
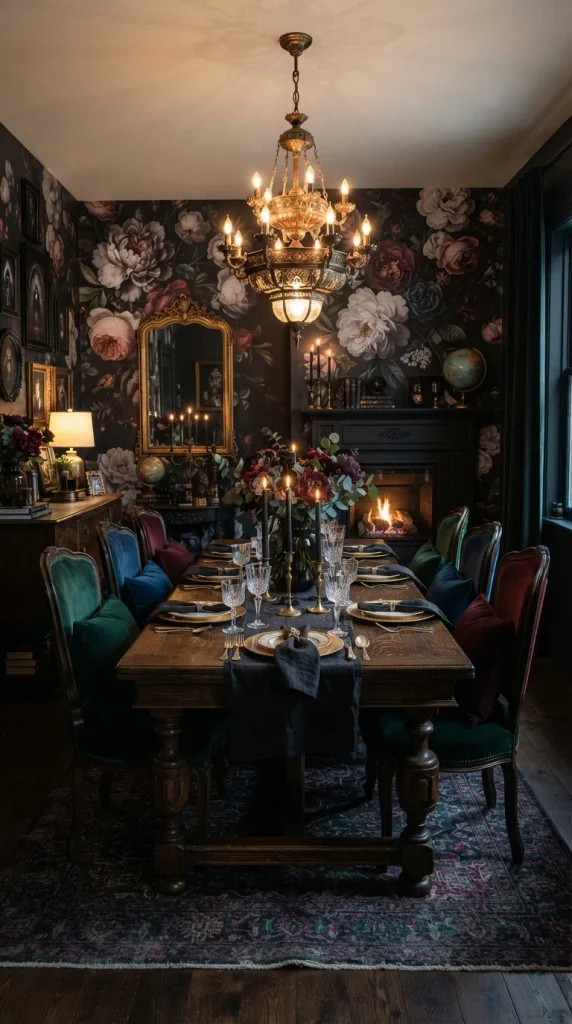
Maximalist design creates an unforgettable dining experience. A dramatic floral mural wallpaper wraps the room in rich narrative storytelling, setting a moody, romantic, and immersive tone for evening dinner parties.
WhatThis Idea Means
Large-scale, oil-painting style floral murals feature oversized blooms—such as peonies, roses, and dahlias—against dark, shadowy backgrounds like charcoal, midnight blue, or deep plum.
How to Make It
- Materials Needed: Peel-and-stick or paste-the-wall floral mural wallpaper rolls, wallpaper smoothing tool, utility knife, a plumb line, and a measuring tape.
- Step-by-Step Instructions:
- Clean and prime your dining room accent wall so the surface is perfectly smooth and dust-free.
- Measure the wall height and cut your wallpaper panels, leaving a 2-inch excess at the top and bottom for trimming.
- Draw a vertical plumb line on the wall with a pencil and level to ensure your first panel goes up completely straight.
- Peel back the backing paper (or apply adhesive) and smooth the panel onto the wall from top to bottom using a plastic smoothing tool to eliminate air bubbles.
- Align subsequent panels carefully, matching the repeating floral pattern seam-to-seam.
- Trim excess paper cleanly along the baseboards and ceiling using a sharp utility knife.
Tips and Variations
- Single Wall Accent: Apply the mural to the wall directly behind the dining table, keeping the surrounding walls painted in a solid, coordinated neutral tone.
- Vintage Chinoiserie: Opt for hand-painted style silk-effect wallpaper featuring birds, branches, and oriental blossoms for a timelessly elegant aesthetic.
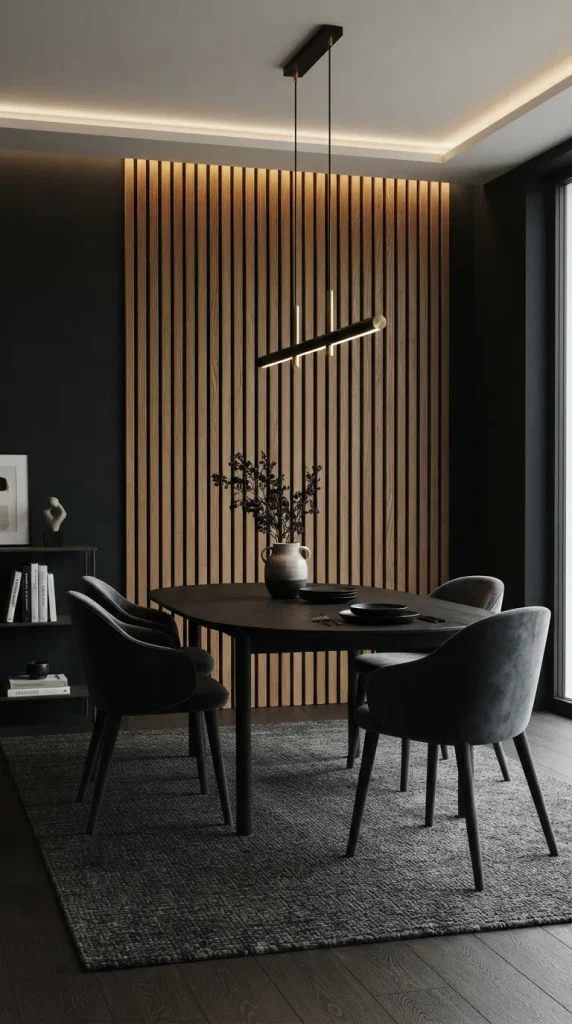
9. Geometric Wooden Slat Acoustic Wall
Introduction
Modern design often struggles with echo and reverberation in hard-surfaced dining rooms. A vertical wooden slat wall solves acoustic issues while delivering clean, architectural, Japandi-inspired elegance.
What This Idea Means
This trend features evenly spaced thin wooden slats mounted on a dark acoustic felt backing, creating rich linear depth, warmth, and sound absorption on a feature wall.
How to Make It
- Materials Needed: Pre-fabricated wood slat acoustic panels, construction adhesive, black drywall screws, a circular saw, and a caulk gun.
- Step-by-Step Instructions:
- Paint the dining room wall completely black or dark charcoal so that any gaps between the panels blend seamlessly into the background.
- Measure the height of your wall and cut the wood slat panels to size using a fine-toothed circular saw.
- Apply a generous amount of construction adhesive to the back of the felt backing on the first panel.
- Press the panel firmly against the wall, utilizing black drywall screws driven directly through the felt backing into wall studs for extra security.
- Butt the next panel tightly against the first, ensuring the interlocking slat pattern looks continuous and seamless.
Tips and Variations
- Half-Wall Treatment: Install the slats only on the lower half of the wall, topped with a sleek wooden ledge for a balanced two-tone look.
- Integrated LED Strips: Hide vertical LED light channels between select slats to create a futuristic, high-end glow.
10. Curated Black-and-White Family Gallery Wall
Introduction
A dining room should celebrate personal history and cherished memories. A meticulously curated black-and-white photo gallery wall brings warmth, personality, and emotional resonance to the space.
What This Idea Means
This style involves framing a collection of family photographs, memorable travels, and artistic architectural shots printed strictly in monochrome, tied together with uniform frames for a cohesive look.
How to Make It
- Materials Needed: A collection of digital photos converted to black and white, uniform frames (such as thin black metal or natural oak), heavy cardstock mats, brown kraft paper, and a hammer.
- Step-by-Step Instructions:
- Print your favorite photographs in black and white with a matte finish.
- Trace each frame onto kraft paper, cut out the paper templates, and tape them to the wall to test your gallery layout.
- Aim for a balanced cluster that centers around eye level, keeping consistent 2-to-3-inch spacing between frames.
- Install picture hooks through your paper templates, then remove the paper.
- Hang each framed photograph, using a small level to ensure everything hangs straight.
Tips and Variations
- Themed Memories: Dedicate the gallery wall entirely to wedding photos, milestone celebrations, or generations of family ancestry portraits.
- Mixed Frame Finishes: Combine vintage ornate gold frames with ultra-modern black frames for a collected-over-time eclectic aesthetic.
11. Minimalist Floating Brass Plate Rack
Introduction
Functional display is a hallmark of sophisticated interior design. A minimalist brass plate rack showcases fine china, vintage ceramics, or handmade serving platters as functional wall art.
What This Idea Means
This concept features slim, polished brass or matte black iron rails mounted horizontally on the wall, holding decorative plates upright so their patterns and glazes can be admired at eye level.
How to Make It
- Materials Needed: Brass or iron plate display rails, heavy-duty wall anchors, screws, a drill, a level, and a selection of decorative dining plates.
- Step-by-Step Instructions:
- Determine the height where you want your plate display rail mounted, ensuring it sits comfortably above your seating or sideboard level.
- Hold the rail against the wall, check it with a level, and mark the screw placement holes with a pencil.
- Drill pilot holes and insert appropriate wall anchors.
- Screw the metal plate rail securely into place.
- Carefully slide your favorite decorative plates, platters, and shallow bowls into the rail channel, leaning them back against the wall.
Tips and Variations
- Multi-Tier Display: Install two parallel rows of brass rails to create a striking floor-to-ceiling plate storage gallery.
- Seasonal Rotation: Swap out your plates seasonally—pastel florals for spring, rich terracottas for autumn, and winter whites for the holidays.
12. Rustic Reclaimed Barn Wood Accent Wall
Introduction
Nothing introduces rustic comfort quite like reclaimed wood. A weathered timber accent wall brings rich history, natural imperfections, and cozy cabin warmth to a contemporary dining room.
What This Idea Means
This design involves cladding an entire dining wall with thin, weathered planks salvaged from old barns or fences, preserving the natural grain, nail holes, and sun-bleached patinas.
How to Make It
- Materials Needed: Reclaimed wood planks (properly cleaned and treated), a miter saw, a pneumatic brad nailer, construction adhesive, and a liquid wood sealer.
- Step-by-Step Instructions:
- Clean the reclaimed wood planks thoroughly with a stiff brush to remove dust and debris, and allow them to acclimate to your indoor humidity.
- Measure your dining room wall and calculate total square footage, ordering 10% extra for cuts.
- Apply construction adhesive to the back of the first plank and press it firmly against the bottom corner of the wall.
- Secure the plank with a brad nailer through the tongue or face of the board.
- Stagger the end joints of subsequent rows to create a natural, randomized brick-laying pattern.
- Cut boards around outlets and light switches using a jigsaw, and apply a light clear sealer if desired.
Tips- and Variations
- Chevron Pattern: Cut the reclaimed boards at precise 45-degree angles to install them in an eye-catching herringbone or chevron arrangement.
- Whitewashed Timber: Apply a light whitewash glaze over the reclaimed wood to brighten the room while retaining the underlying wooden texture.
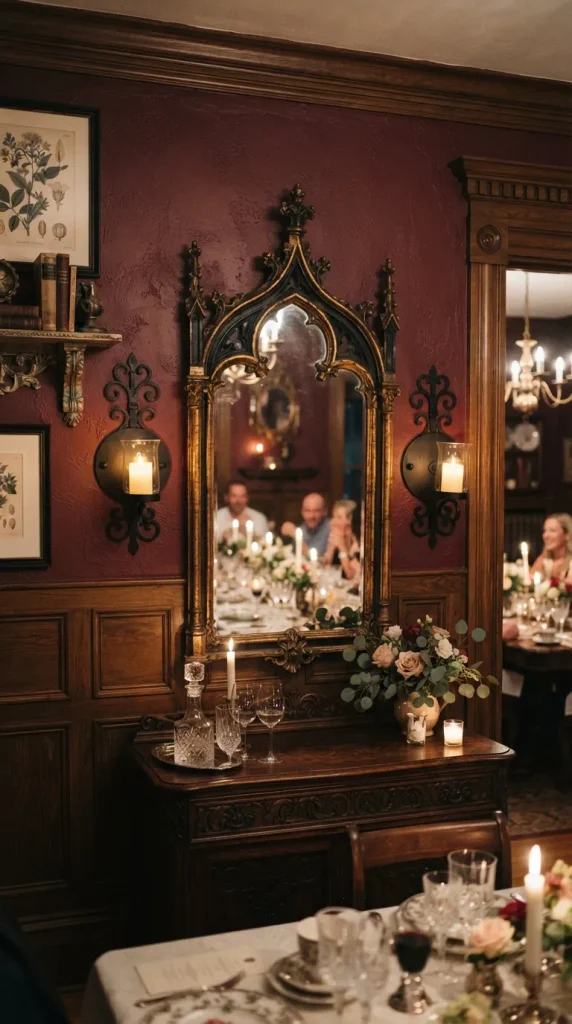
13. Wrought Iron Wall Sconces with Flickering Candles
Introduction
Lighting dictates the mood of any dining space. Wall sconces cast a flattering, intimate glow across the room, mimicking the romantic ambiance of candlelight dinners in historic European chateaux.
What This Idea Means
This traditional decor approach features wrought iron, brass, or brushed nickel candle sconces mounted directly to the dining walls, creating glowing pools of light that accentuate surrounding textures.
How to Make It
- Materials Needed: Two matching wall-mounted sconces, heavy-duty wall anchors, screws, a screwdriver, and pillar candles or high-end LED flicker candles.
- Step-by-Step Instructions:
- Choose a prominent wall space—such as flanking a large mirror or framing a buffet server—to mount your sconces.
- Hold the first sconce backing plate to the wall at desired height, check with a level, and mark the screw holes.
- Drill holes and insert wall anchors for secure load-bearing support.
- Fasten the sconce firmly to the wall. Repeat the process for the matching sconce on the opposite side to create symmetry.
- Place high-quality flickering LED pillar candles into the sconce cups for safe, maintenance-free ambient lighting.
Tips and Variations
- Glass Hurricane Shields: Choose sconces equipped with glass cylinders to protect the open flame from drafts and give a sleek, modern finish.
- Electric Hardwired Sconces: Opt for hardwired vintage-style sconces with Edison bulbs if you prefer flick-of-the-switch convenience over real candles.
14. Modern Geometric Metal Wire Wall Art
Introduction
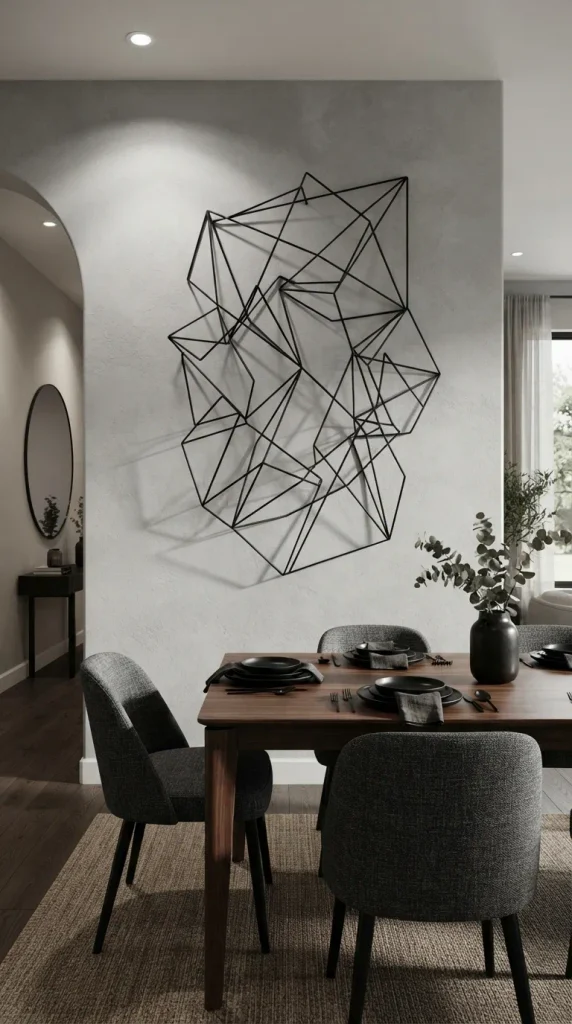
Clean lines and minimalist geometry define contemporary interior styling. Abstract metal wire wall sculptures introduce three-dimensional form and subtle shadow play without feeling heavy or intrusive.
What This Idea Means
This style features welded metal rods formed into abstract linear shapes, intersecting arcs, or organic botanical outlines, painted in matte black, champagne gold, or brass.
How to Make It
- Materials Needed: A large geometric metal wall sculpture, a small hammer, finishing nails or invisible mounting brackets, and a tape measure.
- Step-by-Step Instructions:
- Determine the exact center point of the dining wall where the sculpture will hang.
- Hold the metal sculpture against the wall and mark the hidden hanging loops or structural bars with a pencil.
- Tap small, discreet finishing nails into the wall at your marked points, leaving a small lip exposed.
- Hang the metal sculpture carefully onto the nails, ensuring the piece sits flush and level.
- Step back to check the interplay of shadows cast by the metal wires against your wall paint under dining room lighting.
Tips and Variations
- Triptych Metal Sets: Hang three matching linear metal panels side-by-side to span a wide dining wall effortlessly.
- Warm Metallic Finish: Spray-paint a basic black wire sculpture with metallic copper or brass spray paint to match your dining room light fixtures.

15. Tactile Macrame Fiber Tapestry Wall Hanging
Introduction
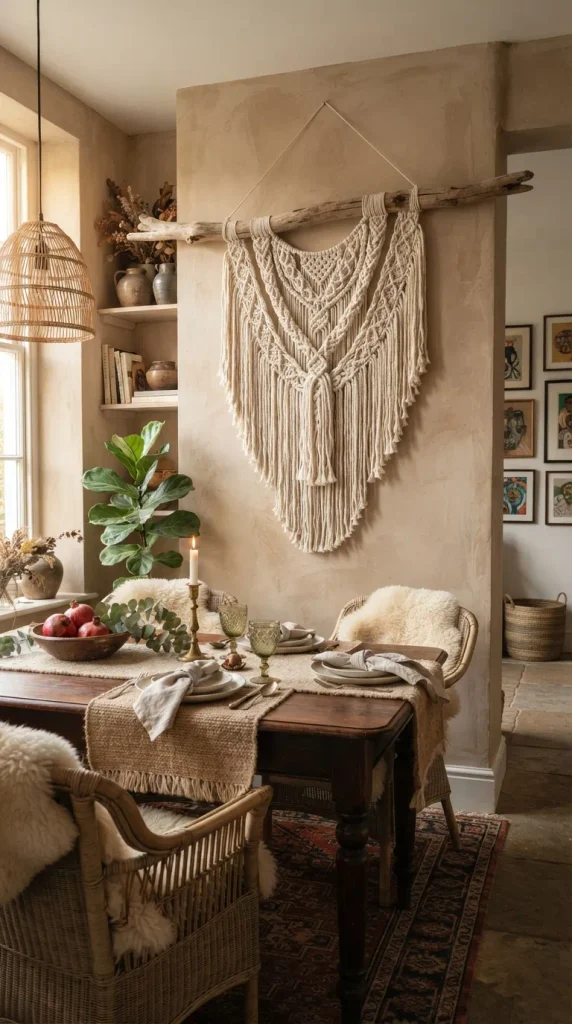
Bohemian warmth and tactile softness counteract the hard edges of dining tables, chairs, and dishware. A large handmade macrame wall hanging introduces intricate knotwork and earthy texture.
What This Idea Means
Crafted from natural cotton cord, a fiber art tapestry features complex knots like square knots, half-hitch patterns, and cascading fringe, hanging from a natural driftwood branch or smooth dowel.
How to Make It
- Materials Needed: A sturdy piece of polished driftwood or wooden dowel, several spools of 4mm braided cotton macrame cord, scissors, and a heavy-duty wall hook.
- Step-by-Step Instructions:
- Cut numerous long strands of cotton cord according to your desired tapestry length.
- Attach the cords to your wooden dowel using larks head knots, ensuring an even, dense distribution across the bar.
- Work your way down the cords, tying decorative square knot patterns, diamond chains, and diagonal half-hitch rows.
- Trim the bottom fringe neatly with sharp fabric scissors into a straight, V-shaped, or cascading curved hem.
- Hang the finished textile masterpiece from a sturdy hook anchored into the dining wall.
Tips and Variations
- Dip-Dyed Ombre: Dip the bottom fringe of the finished cotton tapestry into a bowl of fabric dye to add a splash of indigo, sage, or terracotta color.
- Incorporated Dried Florals: Tuck dried eucalyptus sprigs or pampas grass directly into the top knotwork rows for an extra layer of organic texture.
16. Whimsical Hand-Painted Wall Mural
Introduction
For a completely custom, artistic statement, hand-painting a mural directly onto your dining room wall offers unmatched personality and charm. It transforms your dining area into a personalized work of art.
What This Idea Means
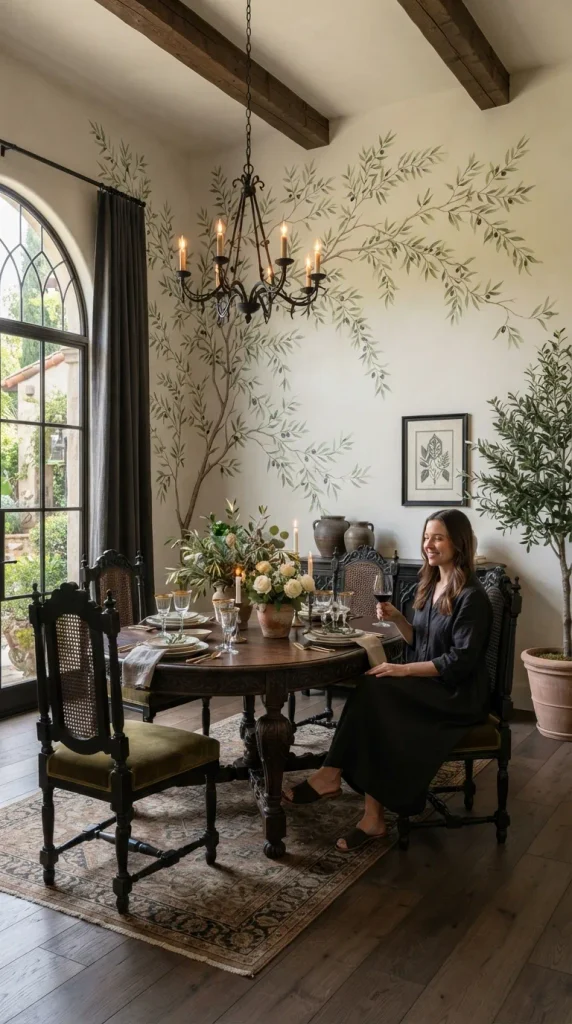
This involves painting a bespoke scene directly onto the drywall—ranging from delicate hand-painted olive branches and trailing vines to sweeping watercolor sunset horizons or minimalist abstract brush strokes.
How to Make It
- Materials Needed: Interior latex wall paints in your chosen palette, artist paintbrushes of various sizes, painter’s tape, a pencil, and a projector (optional for tracing complex outlines).
- Step-by-Step Instructions:
- Ensure your dining wall is clean, primed, and painted with a solid neutral background color.
- Sketch your design lightly onto the wall with a pencil, or project a digital image onto the wall and trace the outlines.
- Pour your chosen accent paint colors into small containers and use fine brushes to fill in delicate details, stems, or linework.
- Step back frequently to evaluate the composition and balance of your painted design across the wall space.
- Allow the paint to dry completely and touch up any stray pencil marks with background wall paint.
Tips and Variations
- Subtle Monochromatic Vines: Paint delicate olive tree branches in a soft taupe shade against an off-white wall for a subtle, Mediterranean-inspired bistro aesthetic.
- Geometric Color Blocking: Use painter’s tape to map out crisp, modern geometric color-blocked arches or sunbursts behind your dining buffet.
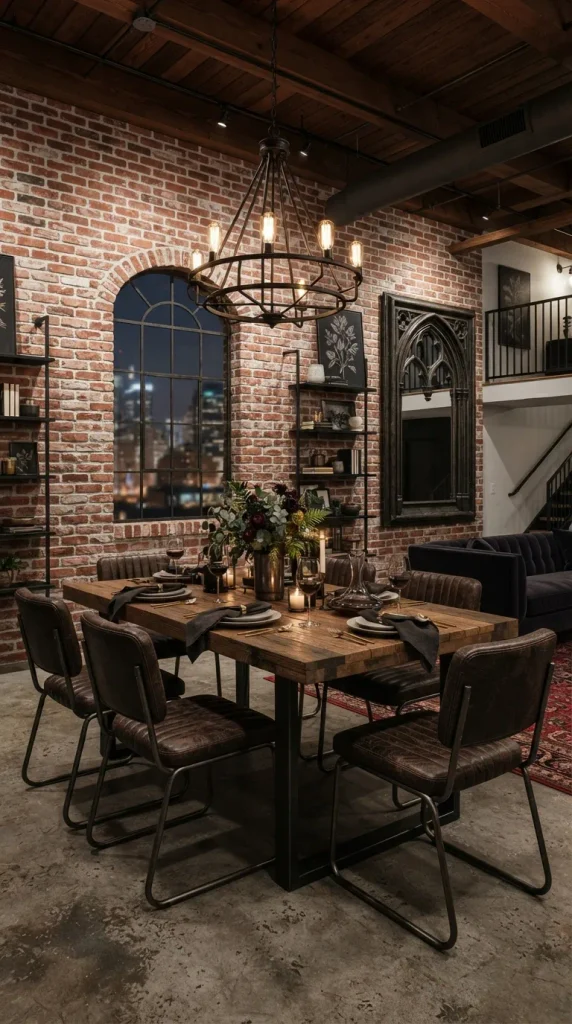
17. Industrial Exposed Brick Wall Effect
Introduction
Loft living and urban industrial design exude effortless cool. An exposed brick wall introduces rich textures, earthy red and brown hues, and authentic architectural heritage to a dining space.
What This Idea Means
If your home does not feature original structural brick, this involves creating a faux brick accent wall using thin brick veneer tiles, textured stencils, or specialized faux-finish plaster techniques.
How to Make It
- Materials Needed: Thin clay brick veneer tiles, tile mortar, a notched trowel, tile spacers, pre-mixed mortar for grouting, and a sponge.
- Step-by-Step Instructions:
- Prepare your dining room accent wall by cleaning it thoroughly and applying a primer.
- Snap horizontal chalk lines on the wall to ensure your brick rows stay level as you install them.
- Apply tile mortar to the wall using a notched trowel in small manageable sections.
- Press the thin brick veneer tiles firmly into the mortar, using tile spacers to maintain consistent 3/8-inch joint gaps.
- Once the mortar cures fully, fill the joints with grout using a grout bag, smoothing the joints with a jointer tool for a realistic finish.
Tips and Variations
- Whitewashed Brick: Apply a chalky white wash over the finished brick wall to soften the industrial edge and brighten a smaller dining room.
- Dark Charcoal Brick: Paint the entire faux brick wall in a dramatic matte black or dark charcoal for an ultra-chic, moody dining lounge vibe.
18. Vintage Botanical Chart Gallery
Introduction
Curiosity cabinets and natural history museums inspire an intellectual, worldly aesthetic. Vintage botanical and anatomical wall charts introduce educational charm, sepia tones, and classic elegance.
What This Idea Means
This style utilizes pull-down school charts or framed canvas prints illustrating vintage flora, fauna, or anatomical drawings mounted with wooden hanging slats and twine.
How to Make It
- Materials Needed: Vintage botanical print files printed on heavy canvas or matte poster paper, two thin wooden trim strips per chart, wood stain, wood glue, and twine.
- Step-by-Step Instructions:
- Source high-resolution public domain vintage botanical illustrations online and print them to your preferred scale.
- Cut your wooden trim strips to match the exact width of your printed charts and stain them with an antique wood finish.
- Apply wood glue to the top and bottom edges of the print and sandwich them securely between the paired wooden strips.
- Tie a length of rustic twine securely around the top wooden dowel to create a hanging loop.
- Hang a series of three or four botanical charts in a neat horizontal row across your dining wall.
Tips and Variations
- Interchangeable Scroll Rails: Use magnetic wooden poster hangers so you can easily swap out botanical prints whenever you want a fresh look.
- Mushroom and Fern Studies: Focus your collection specifically on vintage mushroom identification charts or fern classifications for a forest-inspired theme.
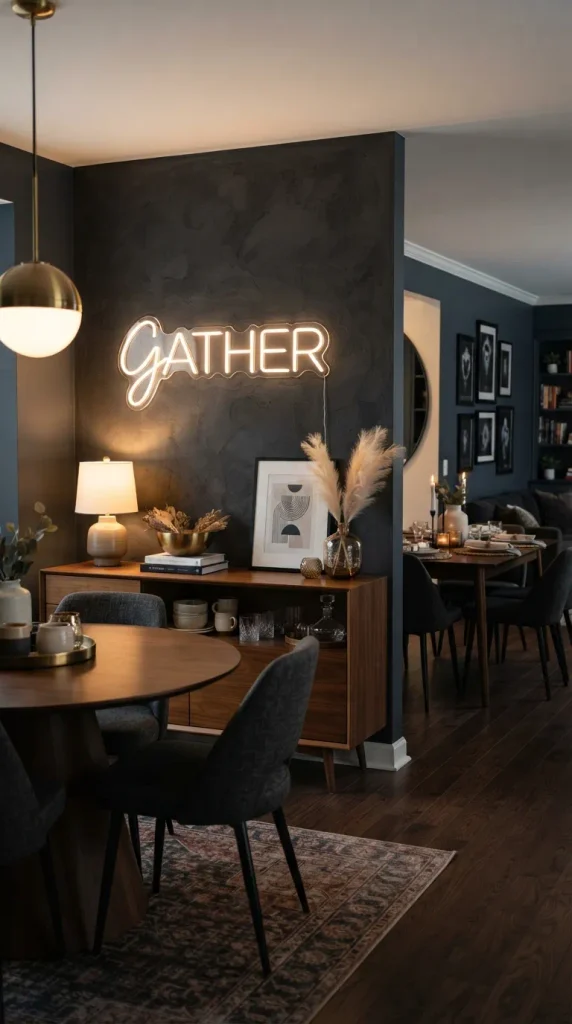
19. Statement Neon Light Typography Sign
Introduction
Juxtaposing sleek modern technology with traditional dining furniture creates an exciting, playful, and contemporary design statement. A custom neon wall sign adds vibrant color and a welcoming message.
What This Idea Means
A custom LED neon flex sign displaying a favorite quote, family name, or welcoming phrase—such as “Gather” or “Bon Appetit”—mounted on a dining wall as a glowing focal point.
How to Make It
- Materials Needed: Custom LED neon sign mounted on clear acrylic backing, wall mounting hardware, a power adapter, and a remote dimmer switch.
- Step-by-Step Instructions:
- Order a custom LED neon sign featuring your favorite dining-related quote or word in a font style that matches your decor.
- Hold the clear acrylic backing against your dining room wall at the desired height, checking with a level.
- Mark the pre-drilled standoff screw holes on the wall.
- Drill holes, insert appropriate wall anchors, and fasten the neon sign securely using the provided standoff mounting hardware.
- Plug the power cord into a discreet outlet, running the transparent cord neatly down behind a table leg or baseboard.
Tips and Variations
- Warm White Glow: Choose a warm white or golden yellow neon hue rather than bright neon pink or blue to maintain a sophisticated, restaurant-quality dining ambiance.
- Dimmer Control: Always install a dimmer switch so you can lower the neon glow during intimate evening dinners.
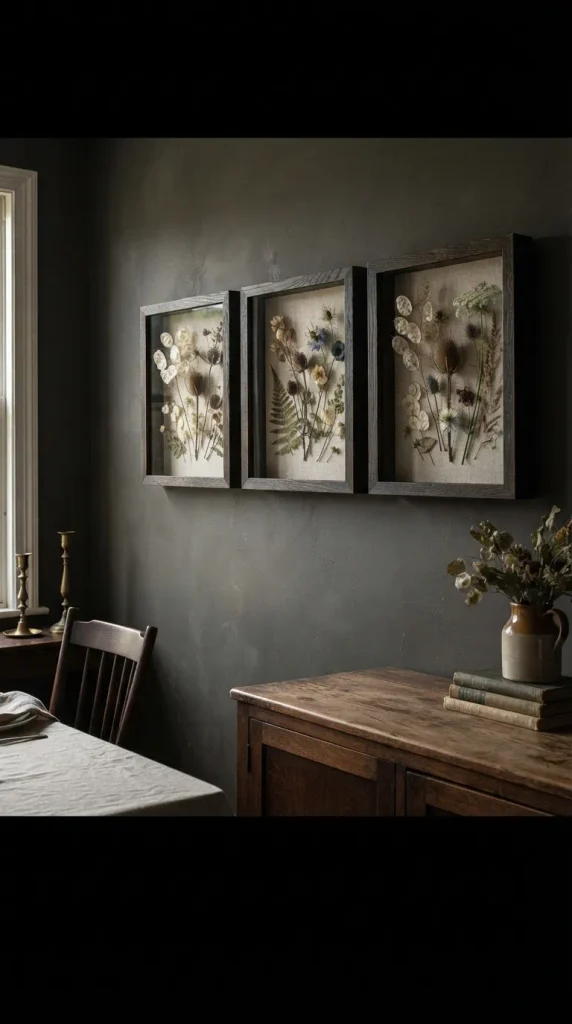
20. Shadow Box 3D Botanical Display Wall
Introduction
Depth and dimension elevate wall decor from flat to fascinating. Shadow boxes protect and showcase three-dimensional treasures, turning everyday natural objects into high-end museum-quality art.
What This Idea Means
This concept features deep-set shadow box frames containing three-dimensional elements such as dried butterfly specimens, pressed coral, seed pods, or vintage pocket watches mounted against neutral linen backings.
How to Make It
- Materials Needed: Shadow box frames with glass fronts, linen or burlap backing fabric, hot glue gun, tweezers, and 3D natural specimens (like dried seed pods or pressed leaves).
- Step-by-Step Instructions:
- Open the back of your shadow box frames and remove the backing board.
- Cut your linen or burlap fabric to fit tightly over the backing board and secure it neatly with hot glue on the reverse side.
- Arrange your 3D botanical specimens or dried seed pods artistically on the fabric surface, securing them with tiny dabs of hot glue.
- Carefully replace the frame glass over the arrangement and secure the back closure.
- Hang a collection of three uniform shadow boxes in a clean, vertical or horizontal alignment on your dining wall.
Tips and Variations
- Herbaria and Insects: Combine botanical leaf pressings in one shadow box with intricate dried moth or butterfly specimens in the matching adjacent box.
- Monochrome Shadow Boxes: Paint the interior wooden walls of the shadow box in the exact same color as your dining room wall for a seamless, floating specimen effect.