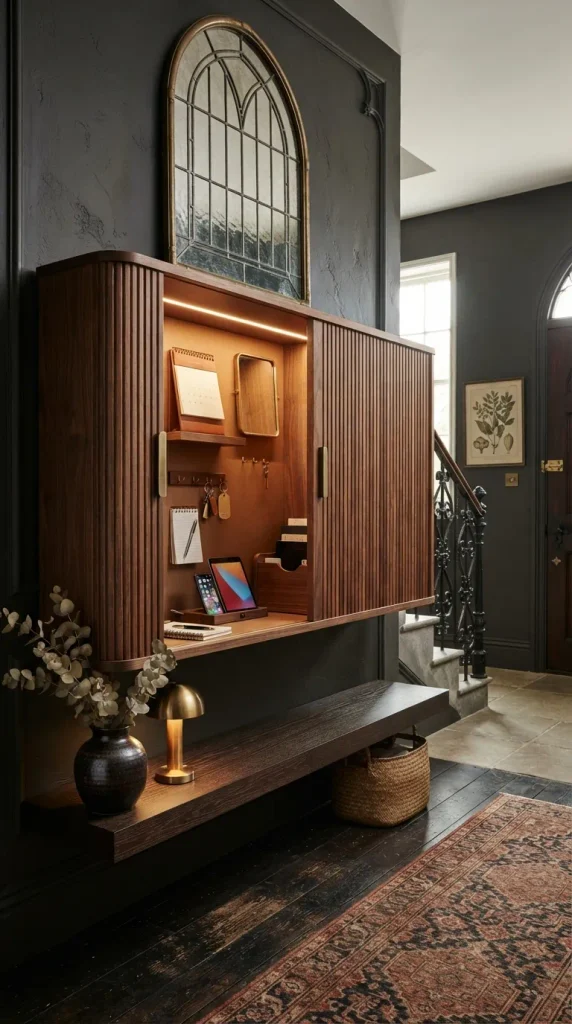
3. The Vintage Shaker Peg Rail with Leather Catch-Alls
Concept & Aesthetic Appeal
Timeless and endlessly versatile, the traditional Shaker peg rail gets a modern farmhouse update. Running a continuous length of pegged timber around the entryway perimeter provides infinite modular hanging options for bags, hats, and customized leather pouches.
How to Make It (Step-by-Step DIY)
- Prepare the Backer Board: Cut a 1×4 inch pine or maple board to fit the desired wall span. Round the top and bottom edges using a router with a quarter-round bit.
- Drill Peg Holes: Space pre-made Shaker wooden pegs evenly along the board, typically every 6 to 8 inches. Drill snug pilot holes at a slight upward angle so the pegs tilt upward, preventing items from sliding off.
- Assemble and Paint: Apply wood glue to the peg tenons, press them firmly into the holes, and secure them from the back with wood screws. Paint or stain the entire rail to match your trim color (classic creamy white or deep forest green work wonderfully).
- Mount to Wall: Secure the rail directly into wall studs using countersunk screws, then conceal the screw heads with matching wood plugs and sand flush.
- Hang Leather Pouches: Craft custom hanging catch-alls by punching holes in vegetable-tanned leather sheets and suspending them from selected pegs using matching leather cords.
Styling Variations & Tips
- English Countryside: Paint the rail in a moody heritage color like Farrow & Ball’s Studio Green and style with wool dog leashes and tweed caps.
- Scandi Neutral: Paint the rail crisp white and pair with natural tan leather accessories and woven straw market bags.
- Tip: Vary the hanging heights of your accessories—hang structured leather bags lower and delicate silk scarves higher to create visual rhythm.