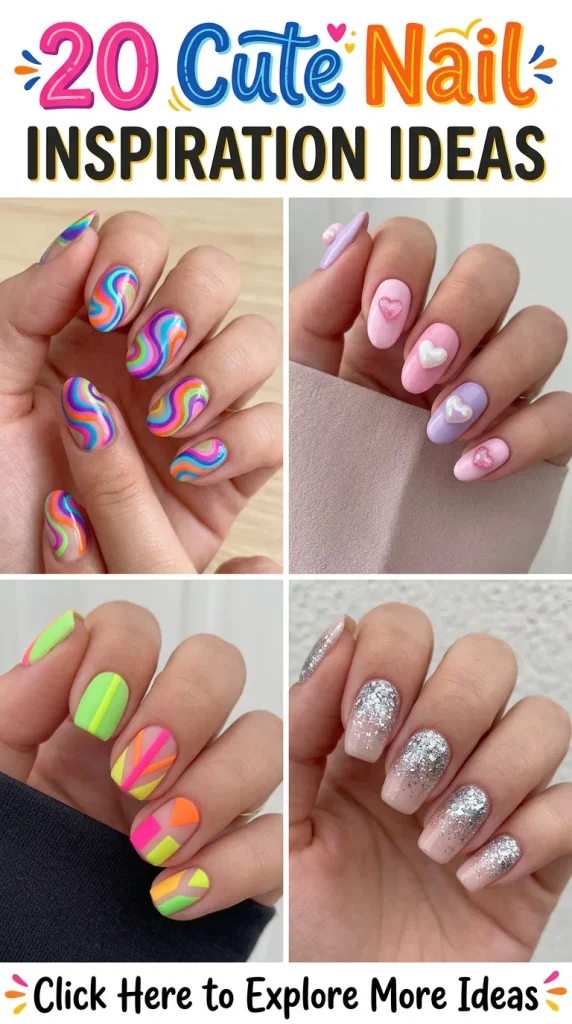
The Look: Playful, groovy, and reminiscent of 1970s fashion, a soft pastel checkerboard pattern brings instant visual interest and cheerful energy to your fingertips. It is a fantastic statement look that works great on almond or square nails.
How to Make It:
- Apply an opaque base coat of a light pastel shade, such as butter yellow or lilac. Cure.
- Using a fine nail art brush, draw a grid of intersecting horizontal and vertical lines across the nail.
- Fill in alternate squares with a contrasting pastel color (like mint green or baby pink) to create the classic checkerboard grid.
- Cure the design completely.
- Seal with a high-shine top coat to ensure a smooth, professional finish.
Tips and Variations:
- Mix checkerboard patterns on two accent nails with solid pastel polish on the remaining fingers.
- Use neutral tones (chocolate brown and cream) for a more subdued, vintage-inspired checkerboard.
16. Holographic Butterfly Wing Accents
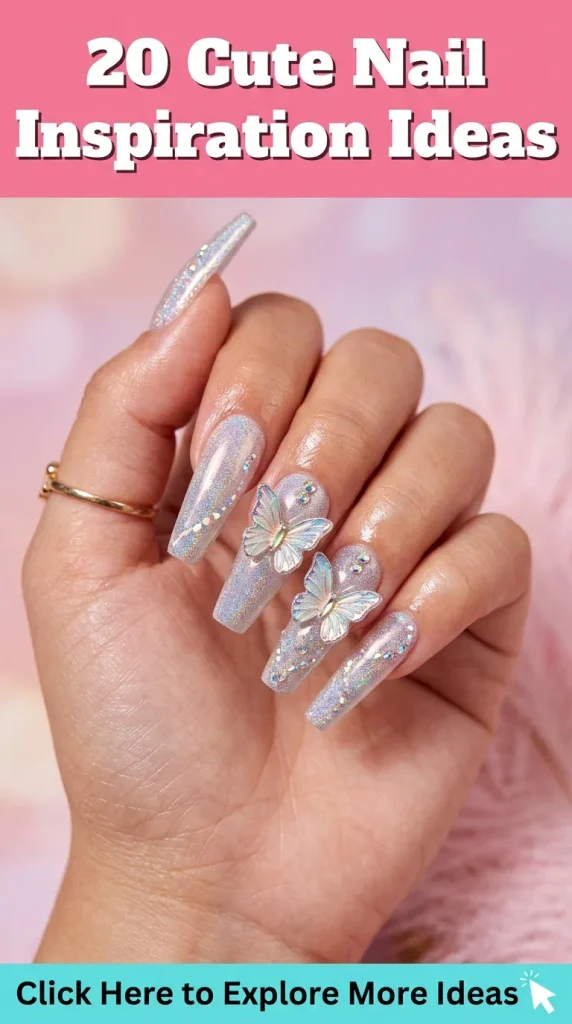
The Look: Ethereal and magical, iridescent butterfly wing patterns shimmer with shifting blues, purples, and pinks as your hands move. It captures the enchanting, delicate beauty of nature.
How to Make It:
- Apply a sheer iridescent or holographic base polish. Cure.
- Using a fine black liner brush, carefully draw intricate, delicate stained-glass lines that mimic the cellular structure of a butterfly wing near the cuticle or tip.
- Fill the interior compartments of the wings with translucent colored jelly polishes or holographic flakies.
- Cure the detailed linework.
- Apply a glossy top coat to lock in the flakies and create a smooth, protective shield.
Tips and Variations:
- Apply pre-made holographic butterfly wing foils onto a sticky base layer for an effortless, intricate finish.
- Pair with soft lavender gradient backgrounds to make the holographic tones pop.
17. Shimmery Metallic Hearts and Flakes
The Look: Luxurious and texturally rich, this style embeds glittering metallic foil flakes and hand-painted golden hearts within a translucent, jelly-tinted base. It looks like precious jewels trapped inside warm amber resin.
How to Make It:
- Apply a sheer jelly pink or peach base coat and cure.
- Press irregular flecks of gold leaf foil onto the tacky inhibition layer of the base coat using an orange wood stick.
- Paint small, elegant metallic gold hearts floating above the embedded foil flakes using a fine detail brush.
- Apply a second sheer jelly coat over the entire design to create a floating, multi-dimensional depth effect.
- Cure and finish with a high-shine glossy top coat.
Tips and Variations:
- Use silver foil flakes and silver metallic hearts for a cool-toned winter wonderland aesthetic.
- Keep the design centered on a structured almond nail shape for maximum elegance.
18. Subtle Smudged Watercolor Florals
The Look: Soft, romantic, and painterly, watercolor florals feature blurred, bleeding pastel petals that look like watercolors blooming on wet paper. It is sophisticated, artistic, and deeply calming to look at.
How to Make It:
- Apply a clean, milky white base coat and cure.
- Drop a small amount of blooming gel or clear alcohol across the nail surface without curing yet.
- Using a fine brush dipped in diluted pastel pink, lavender, and soft yellow, drop pigment onto the wet surface and watch the colors softly bloom and feather outward into organic floral shapes.
- Once the desired watercolor bloom is achieved, flash cure the nail.
- Add tiny dots of golden yellow in the center of the bloomed petals for stamen details. Cure and seal with a glossy top coat.
Tips and Variations:
- Paint delicate olive green stems connecting the blurred floral clusters down the side of the nail.
- Use moody jewel tones (deep plum and emerald) on a dark base for a dramatic evening watercolor look.
19. Classic French with Neon Pops
The Look: A daring update to the traditional French manicure, this look pairs a timeless nude base with ultra-thin, neon-colored smile lines (such as electric lime, hot pink, or neon orange) that demand attention.
How to Make It:
- Apply a natural sheer nude or pink base polish across the entire nail bed. Cure.
- Using an ultra-fine striping brush dipped in vibrant neon gel polish, draw a razor-thin, crisp French tip along the smile line, sweeping slightly down the sides of the nail.
- Clean up any edges with a brush dipped in isopropyl alcohol for absolute precision.
- Cure the neon tips.
- Finish with a protective, high-shine glossy top coat.
Tips and Variations:
- Use a different neon color on each finger for a playful, rainbow-tipped summer statement.
- Pair neon orange tips with a subtle gold chrome outline running directly beneath the neon line.
20. Golden Constellation Starlight
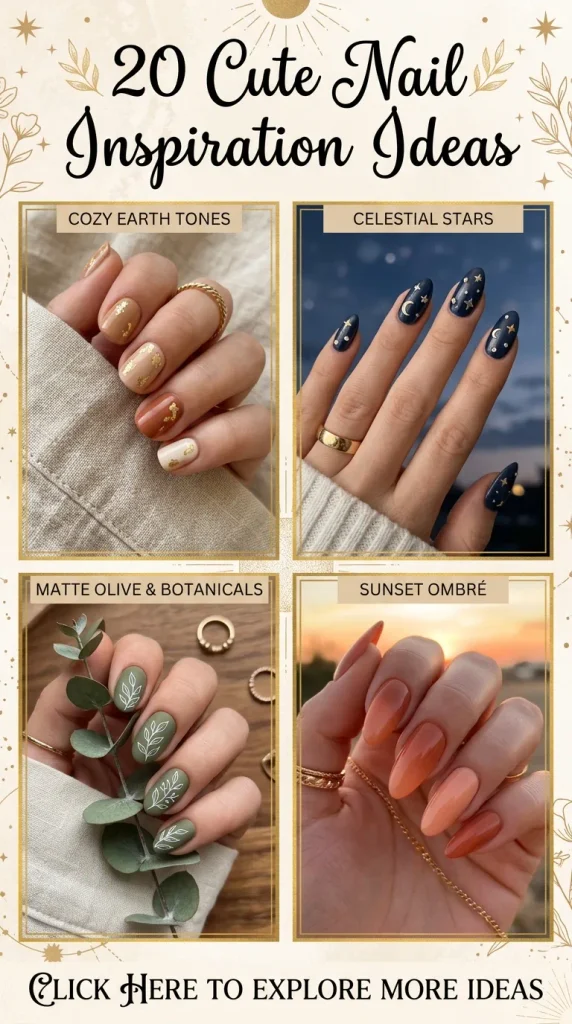
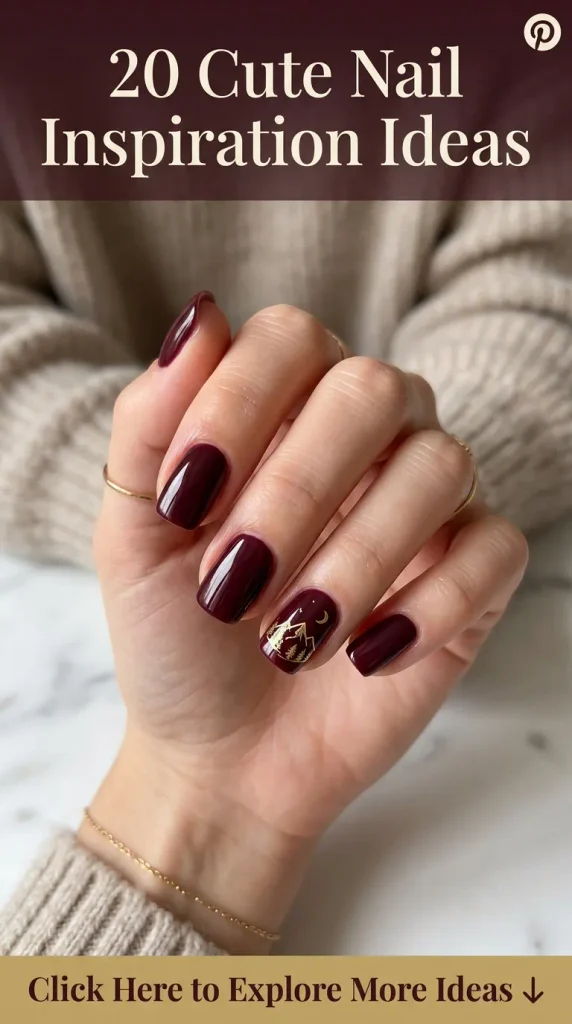
The Look: Mystical, celestial, and deeply sophisticated, deep midnight blue or charcoal bases adorned with tiny gold foil stars, crescent moons, and constellation maps bring the beauty of the night sky right to your fingertips.
How to Make It:
- Apply two coats of a rich, opaque midnight blue or deep plum gel polish. Cure completely.
- Using a fine liner brush dipped in metallic gold paint, draw delicate stars, cross-shaped glimmers, and curving constellation lines connecting tiny dots.
- Alternatively, apply delicate gold star and moon nail stickers onto the cured dark base.
- Cure the painted constellations.
- Seal the entire look with a glossy top coat to ensure the gold details shine brilliantly without dulling.
Tips and Variations:
- Apply a matte top coat over the midnight blue base while keeping the gold stars glossy for a stunning tactile contrast.
- Add scattered holographic micro-glitter to simulate distant galaxies in the background.
More Ideas to Come in Future Addition